Brickwork has always been the preferred choice for buildings and structures for centuries on account of its durability, strength, and aesthetic appeal. However, in the end, even the best-maintained brick walls will need some repair and restoration—especially when the mortar joints are the ones that start to crack, crumble, or wear away. Thus, knowing how to Repair Brick Mortar is very important to keep the property’s building and look intact.
Whether you are a DIY fan or intend to hire a contractor, knowing the pointing process can be a time, money, and hassle-saver. This detailed guide, Brick Pointing NYC, will lead you through each step of the mortar repair process: from recognizing the issue to carrying out a perfect restoration.

Understanding Why Brick Mortar Deteriorates
It is imperative to first comprehend the causes of mortar failure before immersing yourself in the world of Repair Brick Mortar. Mortar is a mixture composed of cement, lime, sand, and water, which is strong enough to connect bricks and, at the same time, absorb naturally occurring movements and weather impacts. Eventually, moisture, heat, and air pollution can all age this mixture.
Then the cracks appear, the joints lose strength, and the condition of the building gets worse as the water has already penetrated the structure, which can lead to bricks falling off and water leaking into the house. So, if you can see the early signs of mortar wearing out, like joints crumbling, gaps opening up, or areas changing color, you can fix the problem on time, before it becomes a bigger issue.
Step 1: Inspect and Assess the Damage
The very first stage in the process of learning how to Repair Brick Mortar is doing a thorough inspection. Go around your house and inspect the brick joints very closely. Search for cracks, missing pieces, or loose mortar that can be seen. Especially look at corners, window sills, and places really close to the foundation since these are the areas that usually deteriorate first. If you slightly tap on the mortar with a chisel or screwdriver, you can find out how deep the damage is. If the mortar falls apart easily, then it is time to go ahead with a complete repointing project.
Step 2: Gather Essential Tools and Materials
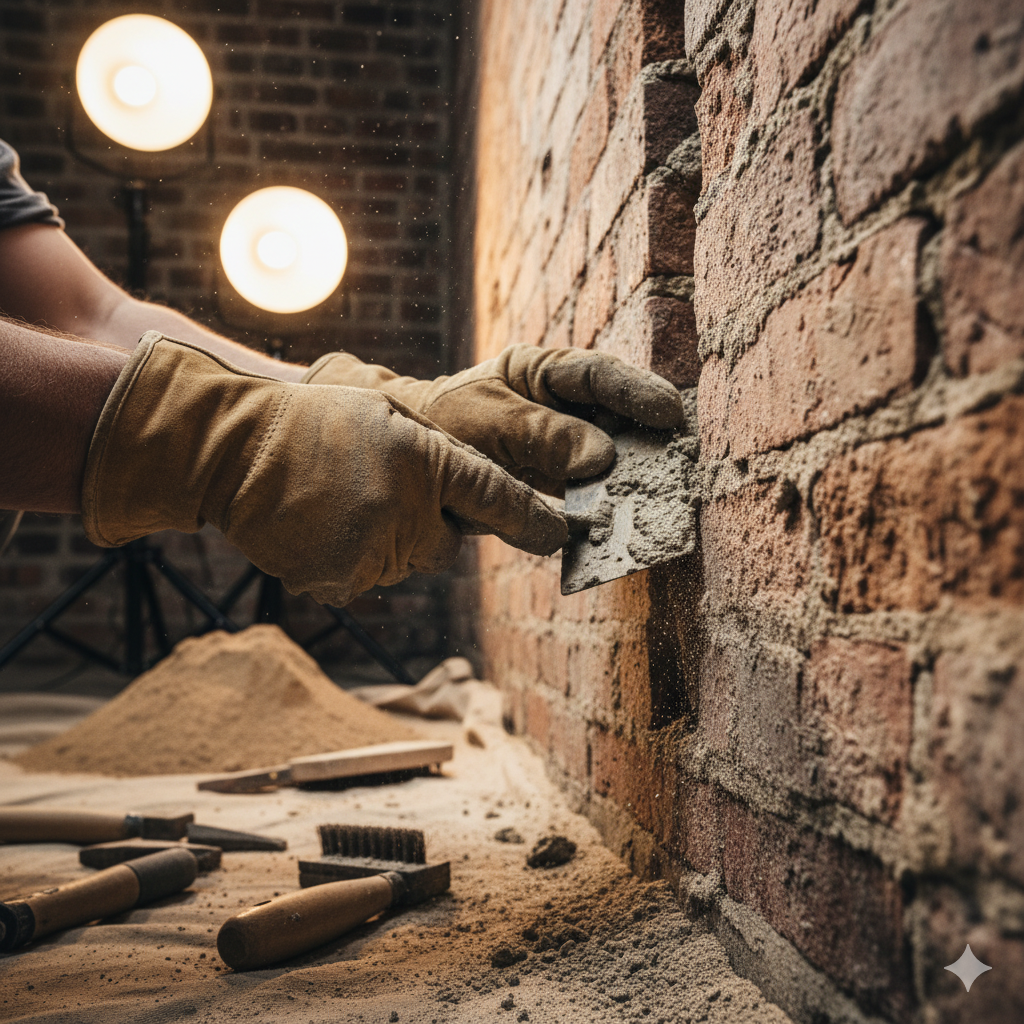
Proper preparation is the secret to a successful mortar repair. Gather all the required tools and materials before you start working. A cold chisel, masonry hammer, pointing trowel, firm-bristle brush, mortar mix, mixing bucket, safety glasses, gloves, and a dust mask are among the things you will need. A mortar mix that is identical to the existing one in composition, color, and texture should be chosen for the best results. If you use the wrong type of mortar, it will gradually harm your bricks by causing more wear and tear.
Step 3: Remove Damaged Mortar
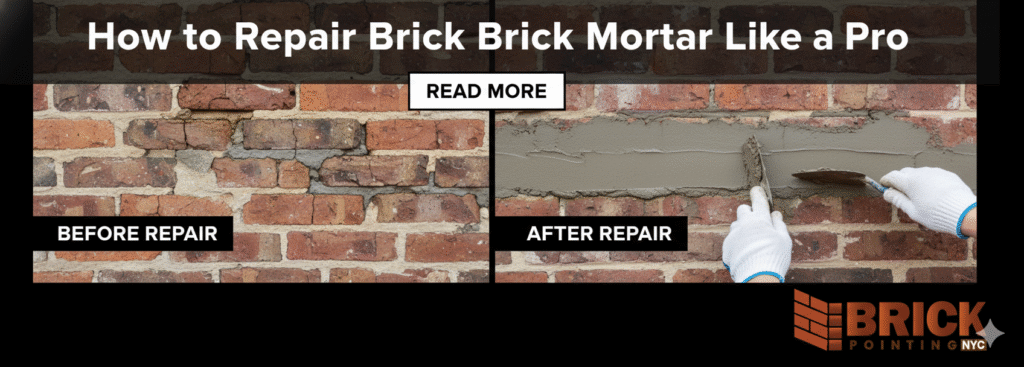
An essential step in the process of learning how to fix brick mortar is the removal of the old, decayed material without causing any damage to the bricks. By means of a cold chisel and hammer, carefully chip away the defective mortar to a depth of approximately ¾ inch. Be careful not to chip or break the adjacent bricks. After the old mortar has been taken out, use a stiff brush to wipe off dust and dirt, making sure the joints are clean and prepared for the new material.
Step 4: Mix and Apply New Mortar
Prepare your new mortar according to the manufacturer’s specifications, and try to reach a peanut butter-like consistency. Just before laying the joints, wet them up a little with water—this will stop the bricks from taking too much water from the new mortar.
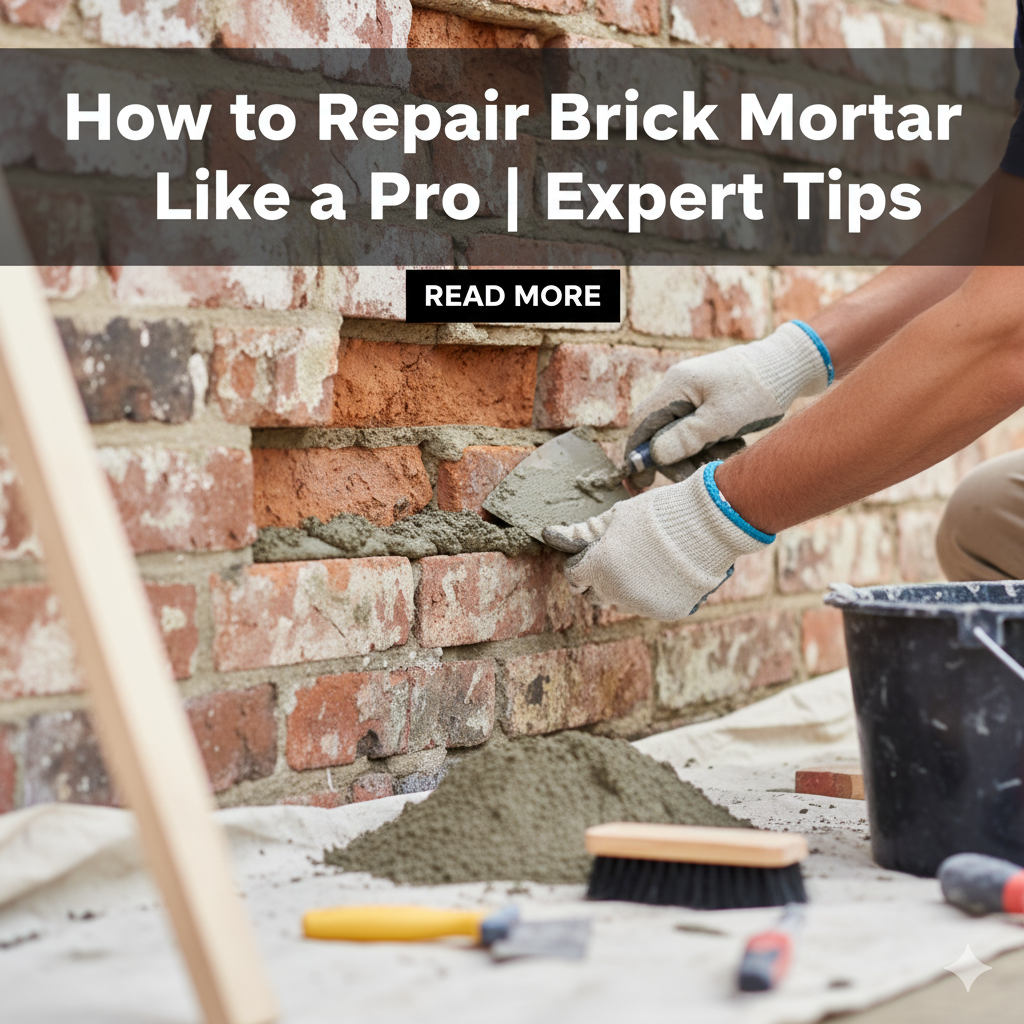
Using a pointing trowel, push the mortar hard into the joints, starting from the bottom up. Complete the joints and level the surface to get a finished, smooth, and even look. The correctly applied mortar should be a little lower than the brick face in the middle to leave room for the movement of the bricks during hot and cold weather.
Step 5: Finish and Cure the Mortar
Once you have filled the joints, take a jointing tool or a pointing iron and shape and smooth the mortar for a perfect finish. This process will enhance the effectiveness of waterproofing the joints. Let the mortar cure very slowly for several days by gently misting it with water to avoid cracking from the rapid drying. After curing, your brickwork will look new and stronger, giving you the same protection and beauty for many years. (The Home Depot)
Maintenance Tips to Extend Mortar Life
It is important to know how to repair brick mortar, but maintenance will determine how long it will last. Examine your brickwork regularly to detect small problems early, especially after extreme weather events. Keep the gutters and downspouts clean so that water does not run down the brick wall.
Try to repair any small cracks as soon as you see them, so they do not become a bigger problem. For historical or complicated masonry, it might be wise to bring in professionals such as Brick Pointing NYC, who can guarantee the work will be of high quality both structurally and in terms of aesthetic standards.

Why Choose Brick Pointing NYC for Mortar Repair?
Even though DIY Repair Brick Mortar is possible, many homeowners prefer to hire professionals for a long-lasting effect. Brick Pointing NYC is a company specializing in providing professional repointing, restoration, and masonry repair services throughout New York City.
Our proficient workers apply both the old-world crafts and the new technologies to bring back your brickwork with exactness and gentleness. We cater to residential homes, historic brownstones, or commercial buildings. We provide unmatched quality and durability that stands the test of time.
FAQs
1. How often should brick mortar be repaired?
Mortar is estimated to last for approximately 20–30 years, but its actual life can vary depending on various factors like climate, exposure, and maintenance. Periodic inspections every few years will help in the early detection of problems.
2. Can I repair brick mortar myself?
Yes, small repairs may be implemented on the DIY level, but in the case of major damage or historic buildings, it is advisable to employ companies such as Brick Pointing NYC that may provide quality work.
3. What happens if I ignore deteriorating mortar?
The gradual and complete neglect of mortar leads to water seepage into the structure. Eventually, this will cause brick decay, roof leaks, and very expensive structural repair costs.
4. How do I match new mortar to existing mortar?
Matching requires duplicating the color, texture, and basic components of the original mix. Mortar analysis by professionals is a common practice to rule out a mismatch.
5. How long does mortar repair take?
Repair for small areas could be completed within a few hours. Bigger repointing projects may take several days to finish, particularly if there are many curing phases involved.
Final Thoughts
Knowing how to fix brick mortar is a vital ability for every property owner who desires to protect his/her investment and keep the building’s attractiveness. With meticulous planning, good quality materials, and detail-oriented workmanship, you can restore the strength and beauty of your brickwork. If you, however, prefer the work to be done expertly, Brick Pointing NYC is always available to offer you reliable and professional masonry services that will last forever.

