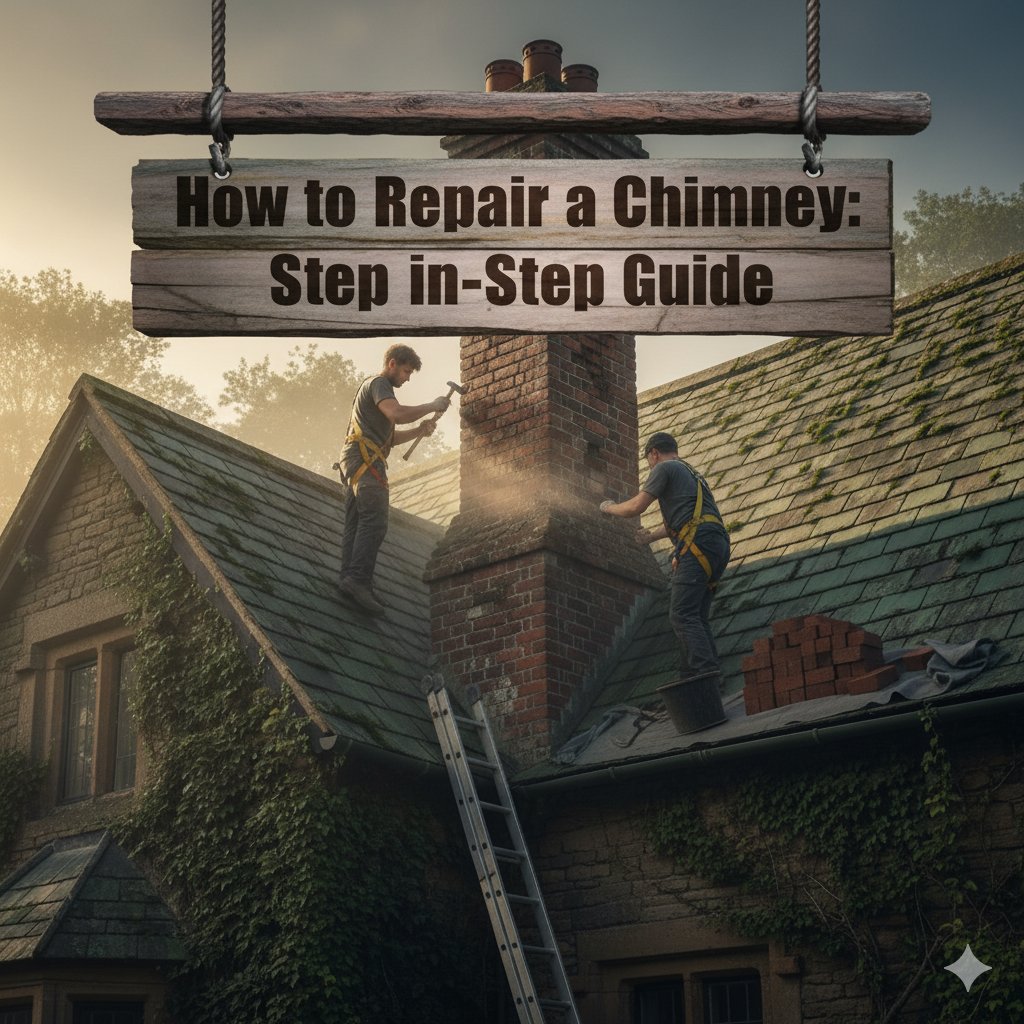
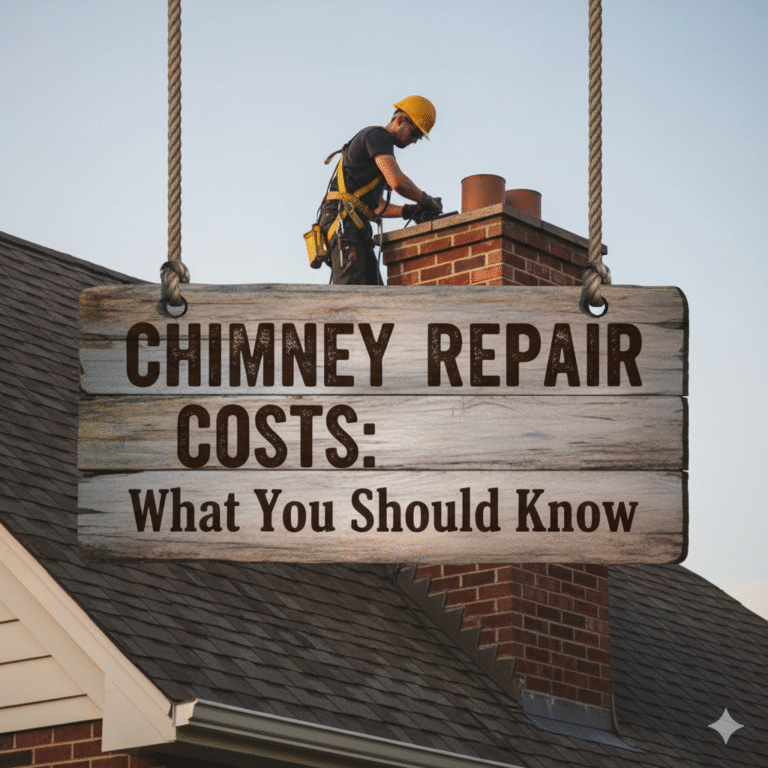
A chimney that is in good condition not only protects your house but also keeps it warm and efficient. However, cracks, leaks, and other forms of decay may eventually develop due to the combined effects of weather, temperature changes, and general deterioration. The chimney can be a source of expensive structural issues and even fire if the damages are not repaired.
In this extensive guide, Brick Pointing NYC will share with you the procedure of Repair a Chimney effectively, not requiring you to be a professional mason.
Understanding the Common Causes of Chimney Damage
Before going for chimney repair, it is very important to know the damage-causing factors first and foremost. Moisture, freeze-thaw cycles, and lack of proper maintenance are the most common reasons behind such problems. The first thing that happens when water enters the masonry is that the bricks and mortar start cracking and decaying. When this water freezes in the winter, it expands and makes the cracks even larger than before. Thus, over time, the entire freeze-thaw process leads to severe structural problems.
The second problem that arises is the chimney crown at the top taking the brunt of the rain and debris, but its decay is also one of the main issues. If the crown happens to be broken or absent, water can easily get through to the building’s interior. Lastly, improper installation of flashing around the base of the chimney may crack the roof, giving way to leaks that result in mold and wood rot.
At Brick Pointing NYC, we have witnessed the transformation of a tiny crack into a serious repair case because of the delay in dealing with the issue.
Step 1: Inspecting the Chimney for Damage
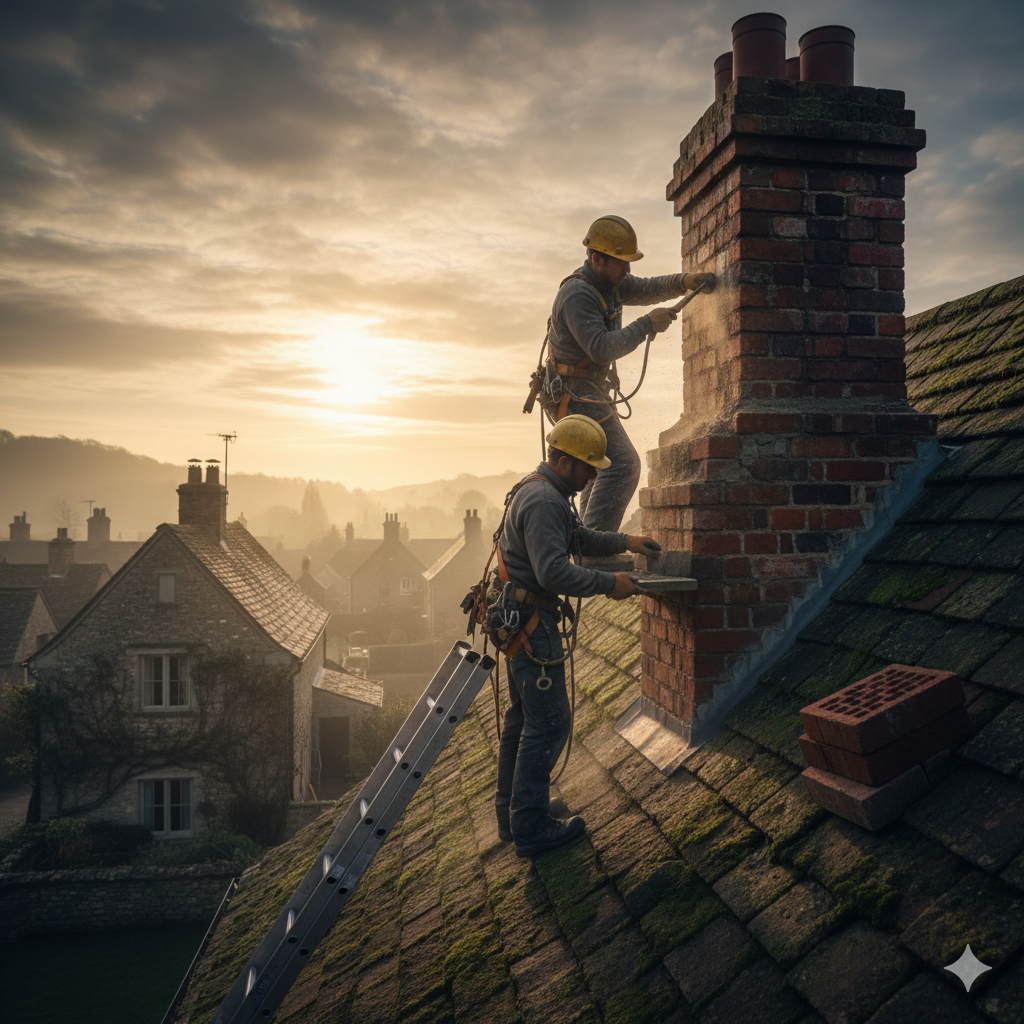
In order to discuss the repair a chimney, one must first know the chimney inspection. Start from the top with a careful check of the exterior chimney down to the bottom. Check for cracks, such as spalling bricks (where the surface is peeling off), and mortar joints that have crumbled. The crown and flashing, where the chimney meets the roof, are very important areas, so make sure you look at them closely.
The very next thing to do is to look for damage or blockages in the chimney interior. Loose debris, a smoky smell, and water stains in your house are indicators of internal damage or leaks. For complete inspection, professionals like Brick Pointing NYC are worth considering since they have the specialized tools and cameras that make the internal chimney conditions safe for assessment.
Step 2: Repairing Cracked Mortar Joints
Mortar joints are the glue that holds the chimney bricks together. When they deteriorate, the entire structure becomes unstable. Repointing is the process of removing old, crumbling mortar and replacing it with fresh mortar.
To repoint, use a chisel and hammer to remove about an inch of the damaged mortar between bricks. Then, mix new mortar to match the existing color and texture. Using a pointing trowel, fill the joints with new mortar, pressing it firmly to ensure a tight bond. Smooth the surface for a neat finish.
Brick Pointing NYC specializes in chimney repointing across New York, ensuring durable, weather-resistant results that extend your chimney’s lifespan.
Step 3: Replacing Damaged Bricks
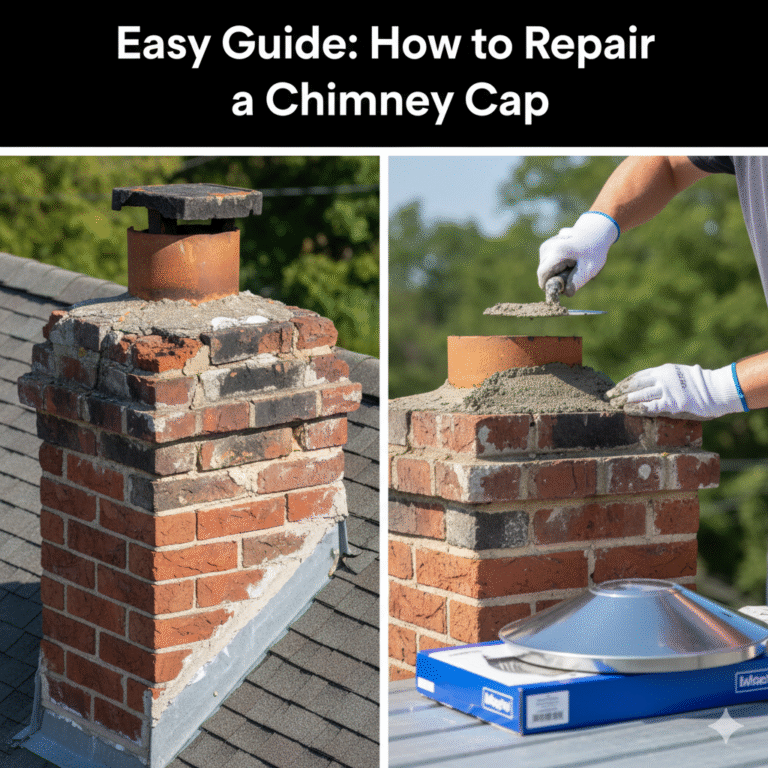
When you spot some bricks that are already cracked badly or spalling, the replacement of such bricks is the only option. Carefully chiseling out the damaged bricks, while not hurting the surrounding ones, is the first step to be taken. Completely clean the cavity, apply a layer of mortar, and then insert the new brick. Make sure it’s lined up with the current pattern, and then do the mortar filling in the gaps.
Damaged brick replacement, besides restoring the chimney’s look, also stops the issue of further structural weakening. The experts at Brick Pointing NYC frequently use bricks of the best quality and waterproof nature so that the repairs last for a long time.
Step 4: Fixing the Chimney Crown
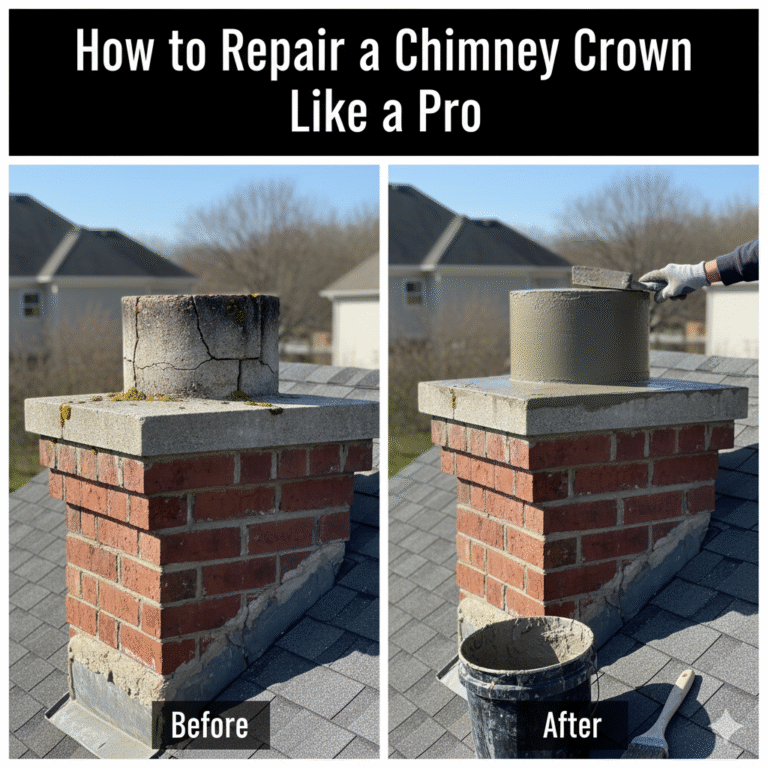
The chimney crown is responsible for keeping the chimney free from rain, snow, and debris. Immediately repair any cracks or holes you find to stop water from getting through. For little cracks, a special crown repair sealant can be used. The crown might need to be rebuilt if there are bigger cracks or if parts are missing.
A well-sealed crown ought to be slightly slanted to channel the rainwater away from the flue. Brick Pointing NYC suggests putting on the crown a waterproof coating for extra protection and durability.
Step 5: Checking and Repairing Flashing
Flashing is the metallic strip that fills the opening between the chimney and the roof. When the flashing becomes loose or corroded, it is a leak that causes a hazard to both the chimney and the roof. To fix it, old caulking should be removed, the area should be cleaned, and a new silicone sealant or flashing should be applied if the corrosion is severe.
When done correctly, the flashing will provide a seal that is waterproof and will therefore prevent costly repairs in the future. The Brick Pointing NYC team often combines chimney flashing repair with roof inspections to provide complete protection.
Step 6: Waterproofing the Chimney
The last step in the repair process is to waterproof the chimney once the repairs have been done. It is the application of breathable, water-repellent sealant to the exterior brickwork. This means that water cannot get in, but the moisture that is caught inside can escape, hence minimizing the chances of future cracking and decay.
Brick Pointing NYC uses cutting-edge masonry sealants that can significantly prolong the life of your chimney, particularly during the harsh New York weather conditions. (Wikipedia)
Maintenance Tips for a Healthy Chimney
Most chimney problems can be avoided with regular maintenance. Have annual inspections and cleanings scheduled to take care of creosote buildup and early small issue finding. Maintain the crown, cap, and flashing, and check that no tree or branch nearby is causing physical damage. Spending a few hours on maintenance each year can prevent the need for thousand-dollar repairs later on.
Frequently Asked Questions (FAQs)
1. How often should I inspect my chimney?
Your chimney is supposed to be inspected at least once a year, preferably during the winter season. Frequent checks are used to detect minor cracks and leakages before they degenerate into major issues.
2. Can I repair my chimney myself?
Such tasks as sealing small cracks or adding mortar are minor repairs that can be carried out by any person. But when it comes to major repairs, it is best and safer to employ those who are professionals, such as Brick Pointing NYC.
3. What’s the best material for chimney mortar?
Use Type N or Type S mortar for most residential chimneys. These provide the appropriate combination of strength and flexibility to accommodate the change of temperature.
4. How do I prevent water damage to my chimney?
Make sure that the crown, the cap, and flashing are well sealed, and a waterproofing agent is applied to the masonry. Leaks can also be detected at an early stage because of annual inspections.
5. How much does chimney repair cost in NYC?
The price is determined by the level of the damage. Restoring small damage can be done with a few hundred dollars, whereas complete restorations can exceed 2000 dollars. To have the proper estimate, Brick Pointing NYC has to be contacted to do the free inspection.
Final Thoughts
Chimney repair skills can be very helpful in keeping your home heating system safe and working well. From repointing the mortar to waterproofing the chimney, each process adds to the strength and longevity of the chimney.
For chimney repair services in New York that are professional and durable, rely on Brick Pointing NYC, your neighborhood specialists in masonry, restoration, and brickwork.
