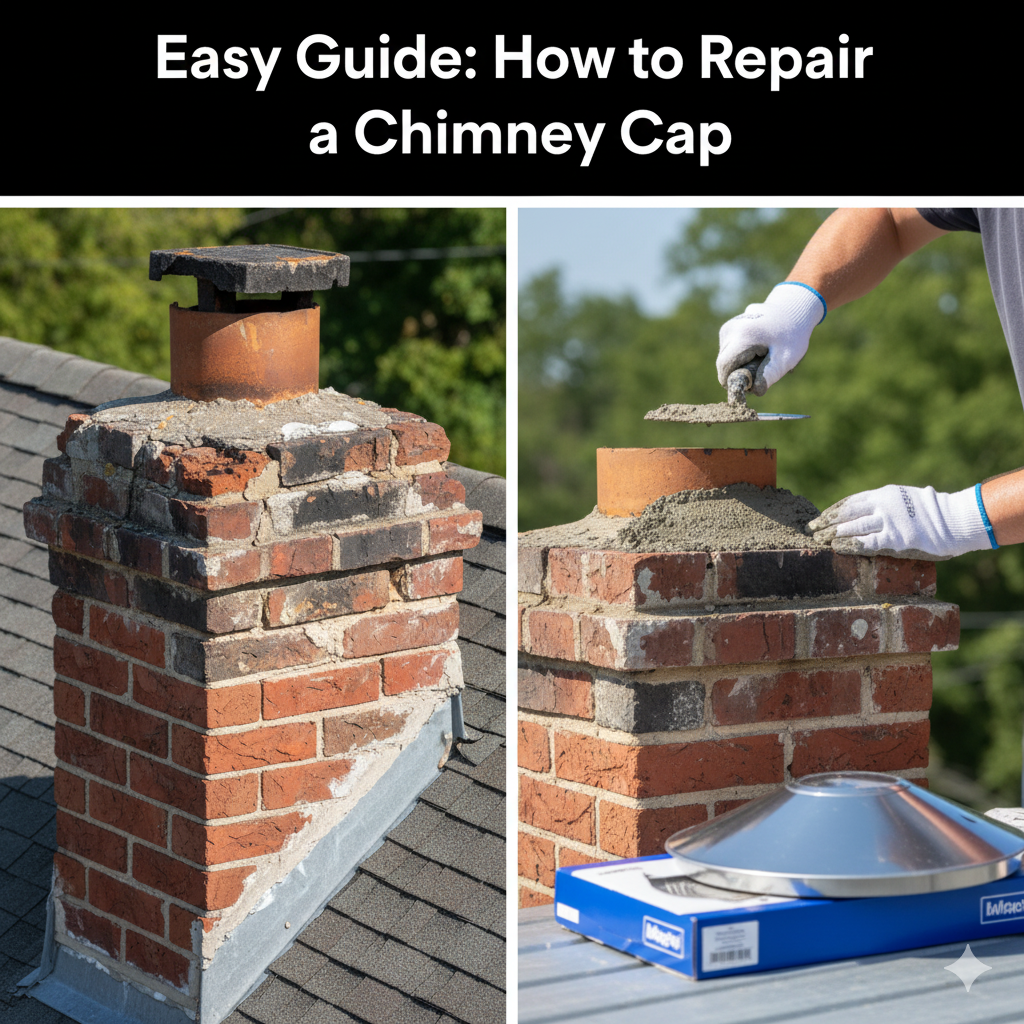
A chimney cap is a minor yet crucial part of the house that safeguards it against water damage, animals, and the accumulation of debris. After a long time, the finest chimney caps can also be broken, rusted, or detached due to the continuous heat, moisture, and weather conditions. A damaged chimney cap can incur high repair costs in the future.
In this thoroughly researched guide, Brick Pointing NYC describes the procedure for repairing a chimney cap safely and efficiently without requiring much DIY experience.
Understanding the Importance of a Chimney Cap
Chimney cap repair is one skill you should learn, but understanding the importance of the component is the first step. Built on the summit of your chimney flue, the cap performs dual functions, such as preventing rain, snow, and animals from entering and permitting smoke and gases to escape unhindered. If not, water can penetrate the chimney system resulting in consequences such as structural damage, mold growth, and deterioration of bricks.
In addition, a broken cap may lead to cold air intrusion in the house due to poor draft. Top-notch chimney and fireplace maintenance, paired with timely chimney cap repair, can ensure the longevity of both.
Signs Your Chimney Cap Needs Repair
Being aware of the chimney cap repair time is partly the struggle. These typical alarming signs are to be watched for:
- Rust or corrosion on the metal surface.
- Cracks or chips in the masonry or crown.
- Loose or missing screws that hold the cap in place.
- Water stains on your fireplace walls or ceiling.
- Animal nests or debris found in your chimney flue.
If you see any of these troubles, it is time to respond. The overlook of the issue can bring about rifting, smoke backing up, or even chimney fires.
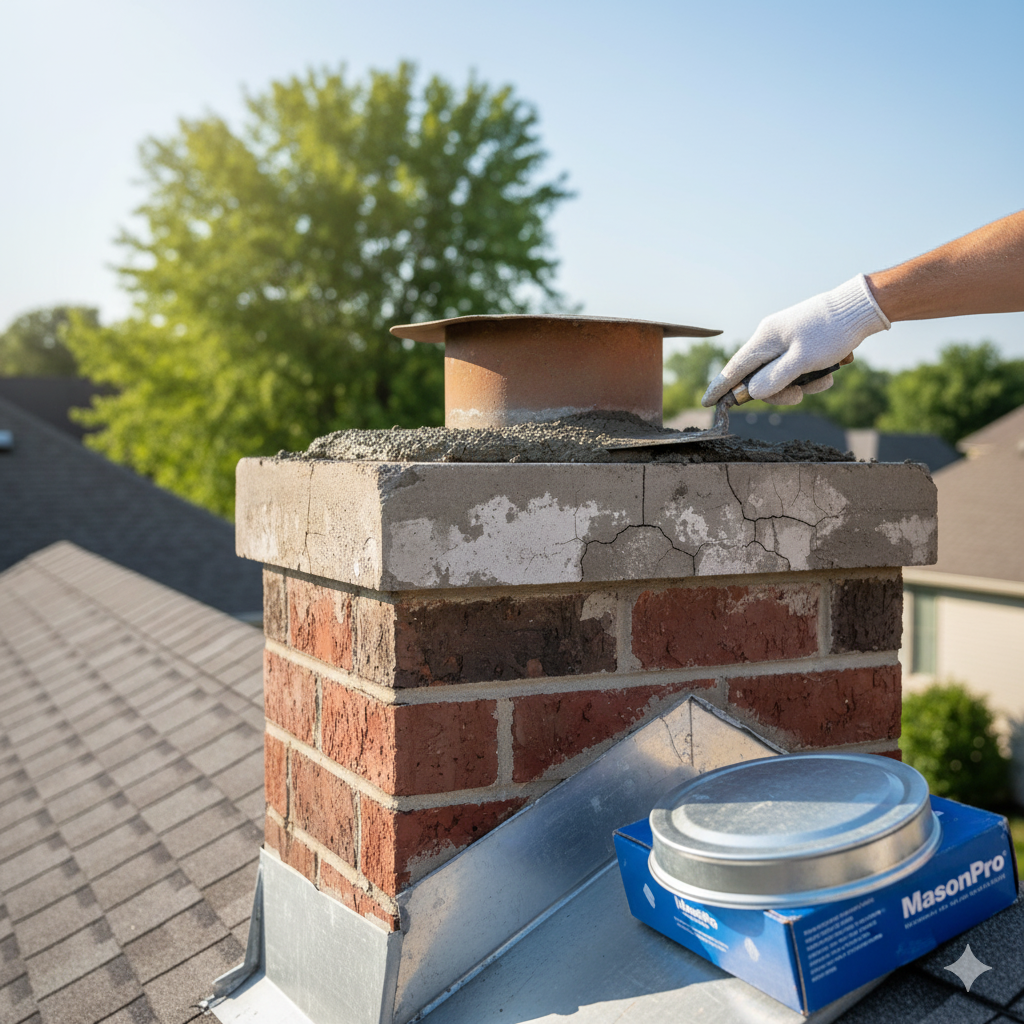
Tools and Materials You’ll Need
Before learning how to repair a chimney cap, gather the following materials:
- Ladder (tall enough to reach your roof safely)
- Work gloves and safety goggles
- Wire brush and cleaning cloths
- Screwdriver or wrench set
- Chimney sealant or high-temperature caulk
- Rust-resistant paint (optional)
- Replacement screws or metal mesh (if necessary)
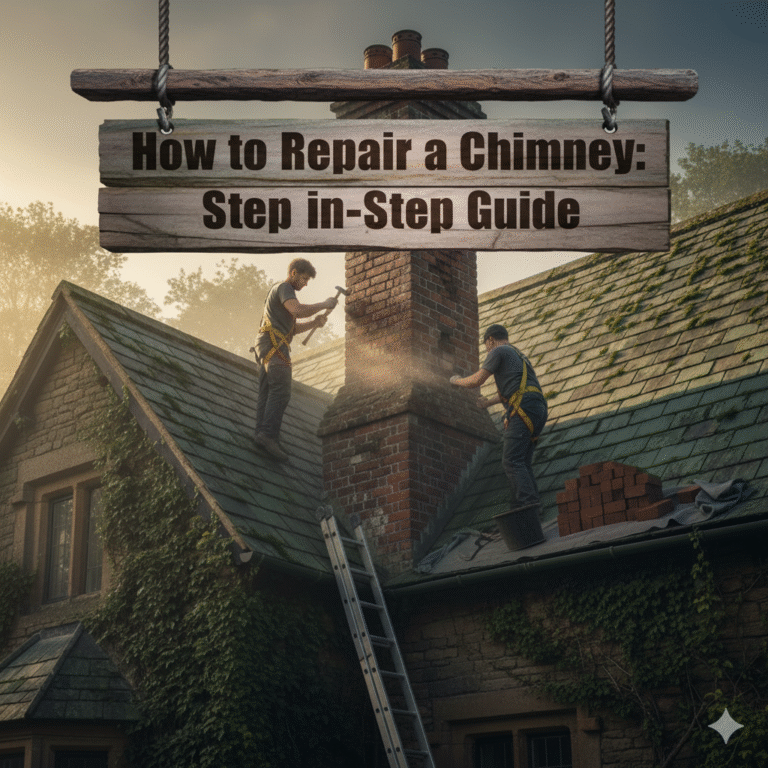
Safety first, as working on roofs can be hazardous. Make sure your ladder is stable for safe access to the roof. If heights aren’t your thing, you may want to call a chimney repair service, like Brick Pointing NYC.
Step-by-Step Guide: How to Repair a Chimney Cap
Step 1: Inspect the Chimney Cap Thoroughly
Inspect the entire chimney cap for damage. Look for excessive rust, cracks, separation or loose parts, or gaps where water can enter. If you find light damage, such as a small crack or loose screw, you can repair it easily. However, if the cap is rusty or bent, you will likely be better off paying for a new one rather than attempting to repair a damaged cap.
Step 2: Clean the Surface
Use a wire brush to remove any loose debris, soot, or rust from the chimney cap. Cleaning will help the repair materials adhere to the cap. After brushing, you should wipe the surface with a damp cloth to remove fine dust.
Step 3: Fix Loose Screws or Fasteners
If the chimney cap has become loose, the screws should be tightened to secure it back to the top of the chimney. If they were old or rusted, you could replace old screws or bolts with stainless steel screws.
Step 4: Seal Cracks and Gaps
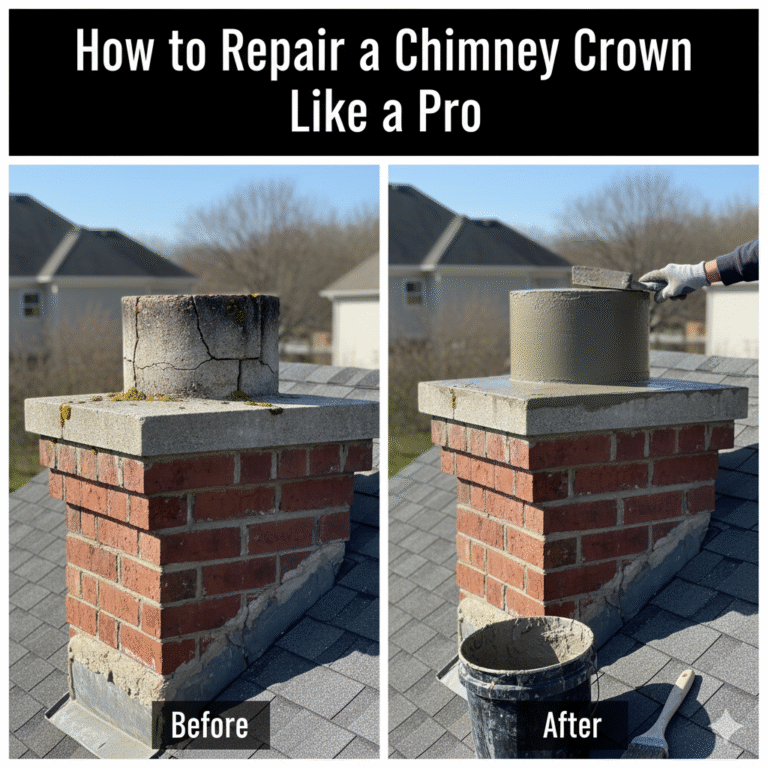
Generously apply high-temperature chimney sealant or caulk to any visible cracks or gaps in the cap or crown. Use a gloved finger to smooth the sealant, creating a watertight seal. This is necessary to prevent rainwater from infiltrating your chimney and causing structural issues.
Step 5: Repair or Replace Damaged Mesh
If the chimney cap has a metal mesh that is bent or corroded, cut out the damaged section and replace it with a new rust-resistant screen. A mesh prevents birds, squirrels, and debris from entering the chimney flue.
Step 6: Apply Protective Coating (Optional)
After completing the repairs and the chimney cap is restored, consider adding a layer of rust-resistant paint or protective sealant to the metal chimney cap. Not only does this improve appearance, but it will also prolong the life of the cap by preventing future corrosion.
Step 7: Reinstall and Secure the Cap
Place the cap back on top of the chimney and ensure it fits tightly. Tighten all screws and ensure it is stable and level. Take a moment to do one final inspection of the cap to ensure all repairs are sealed and secure.
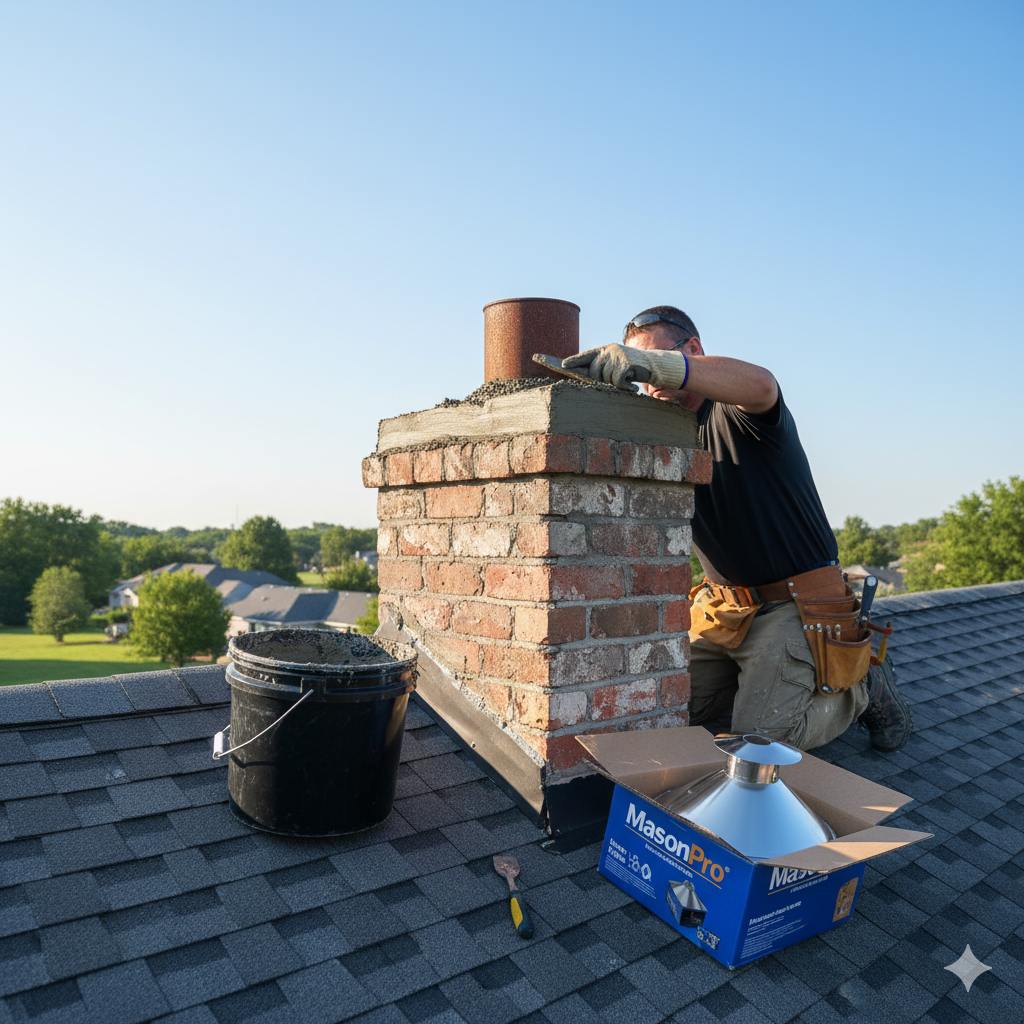
While chimney caps can be repaired using DIY methods for certain repairs, some issues are best handled by a professional. If your chimney cap is severely rusting, is detached, or your roof is steep and unsafe to climb, it’s best to have a trusted masonry and chimney repair company like Brick Pointing NYC repair or replace your chimney cap. Professionals have the right safety gear, tools, experience, and abilities to properly and safely repair or replace chimney caps. (Fixr.com)
FAQs About How to Repair a Chimney Cap
1. How do I know if my chimney cap is leaking?
If you notice water stains on either the walls or the ceiling of your fireplace and chimney, there is a strong chance that a chimney cap leak is present. You can also visually inspect the chimney cap and chimney cap flashing system for rusting or cracking.
2. Can I use regular sealant for chimney repairs?
Always use a high-temperature chimney sealant or high-temperature chimney caulk as the sealant or sealant method of chimney cap repair. Regular household sealants will not work because they will always melt or crack from the intense heat of the chimney flue.
3. How often should I inspect my chimney cap?
Inspect your chimney cap twice yearly–once during the fall before the first snowfall, and again after winter as spring approaches. Inspecting your chimney cap helps catch small issues that could later become an expensive repair.
4. Is it safe to repair a chimney cap myself?
It is safe to repair a chimney cap by yourself if you take safety measures, and it is a minor repair. If it requires climbing a steep-sloped roof, it would be better to contact a professional like Brick Pointing NYC.
5. How long does a chimney cap last?
A welded stainless steel chimney cap will last for 10-20+ years with good maintenance. Sealing it properly and cleaning it regularly will certainly increase its longevity.
Final Thoughts
Learning to repair a chimney cap can save homeowners money and prevent chimney damage that can potentially be serious. The most important thing is safety and following best practices. If you are not sure or your repair looks risky or complicated, contact Brick Pointing NYC for professional chimney repairs and service. Using help from professionals, your chimney should remain safe, functional, and protected from the weather for many years to come.
