Tuck Pointing Brick – Full Instruction About Masonry Repair
Brick walls are said to be durable and ageless yet the most robust brickwork can lose its beauty. Mortar joints especially are likely to crack, crumble and weather. At this point tuck pointing brick is necessary.
To keep brick structures strong, well-appearing and lasting, it is important to understand tuck pointing brick. All the information you need, including tools and materials, step-by-step instructions, pitfalls, DIY tips, and maintenance tips, is in this guide.
What Is Tuck Pointing Brick and Why It’s Important
Definition of Tuck Pointing in Masonry
Tuck pointing brick is a specialized masonry method which is applied to claim and repair mortar joints in a brick wall. This is done by scraping off the old crumbling mortar, and applying new fresh mortar in order to reinforce the wall and make it look nice. Tuckpointing is carried out in the right manner to not only increase the durability but also avoid water intrusion, moulders, and structural damages.
Advantages of Tuck Pointing for Structural Integrity
Tuck pointing brick has the following benefits:
- Re-inforcing wall strength and stability.
- Eliminating water damage and leakage.
- Improving the beauty of brickwork.
- Prolonging the life of buildings made of bricks.
- Eliminating expensive maintenance in the future.
When tuck pointing is done correctly, your brick walls can be strong and attractive-to-look at over the span of decades.
Equipment and Supplies Required for Tuck Pointing Brick
Necessary Tools for Tuck Pointing
In order to achieve a professional manufacturing and long-term outcomes, assemble the following tools:
- Pointing trowel
- Mortar hawk
- Chisel and hammer
- Wire brush
- Mortar joint raker or grinder.
- Bucket and sponge
- Safety glasses and gloves
It is essential to have the right tools to use so that the application is precise and the repair wastes less time.
Choosing the Best Mortar Mix for Tuck Pointing
The mortar you apply will be determined with the brick and its age. Older or historic bricks are best suited to lime-based mortar, and newer constructions are best suited to cement-based mortar. Application of the mortar color and texture that matches existing joints is essential in providing a smooth professional appearance.
Tuck Pointing Brick – Step-by-Step Guide
Step 1: Pre-Tuck Pointing Wall Inspection
Start by about to inspect the wall where mortar joints look cracked, crumbling or hollow-sounding. Circle the outlines of places where there is a need to work so that the repair work will be concentrated and systematized.
Step 2: Removing Old Mortar
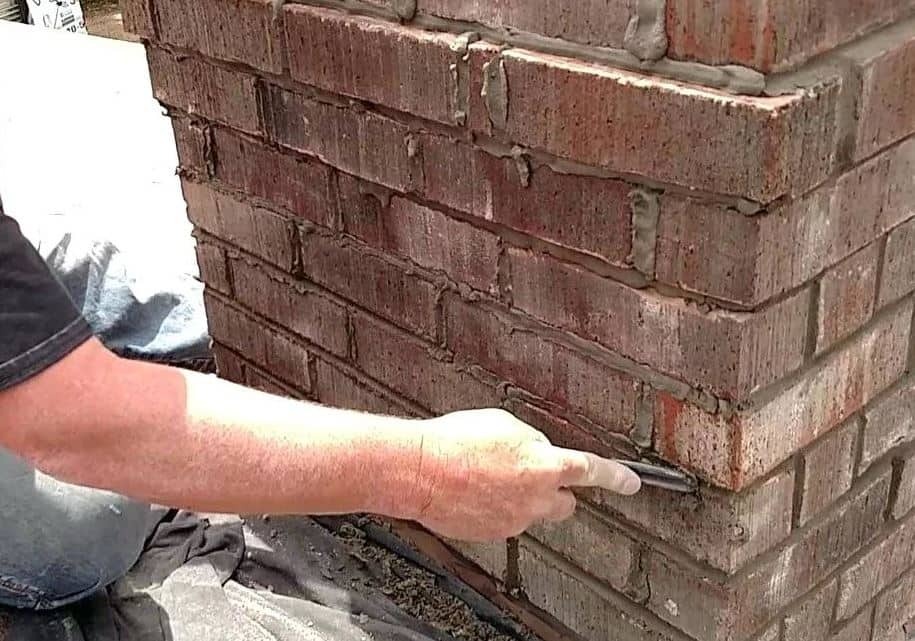
Clean off with a chisel or grinder the damaged mortar to a depth of at least 1/2 inch. Take care not to break the adjacent bricks as they have to stay intact to enable the new mortar to adhesively stick.
Step 3: Preparing the Mortar Mix
Ready the mortar according to the instructions of the manufacturer. It must be solid enough to form and yet soft enough to stuff joints full. Good adhesion and longevity cannot be achieved without proper mixing.
Step 4: Applying New Mortar
Wet the joints which have been cleared and then apply new mortar. Apply mortar with a pointing trowel into each joint. Make sure that all the cavities are completely filled and adat to the bricks.
Step 5: Final Touches and Finishing
After the mortar has started to dry, mould the joints using trowel or a jointing tool. Wipe off brick faces with damp sponge to make a clean and professional finish. It is well finished to last long and look good.
Professional vs DIY Tuck Pointing
How to Tuck Point Brick as a DIY Project
The DIY enthusiasts can address small fixes and localized locations with the appropriate equipment and instructions. Tuck pointing DIY can save time and money and also enable homeowners to do this themselves.
When to Hire a Professional
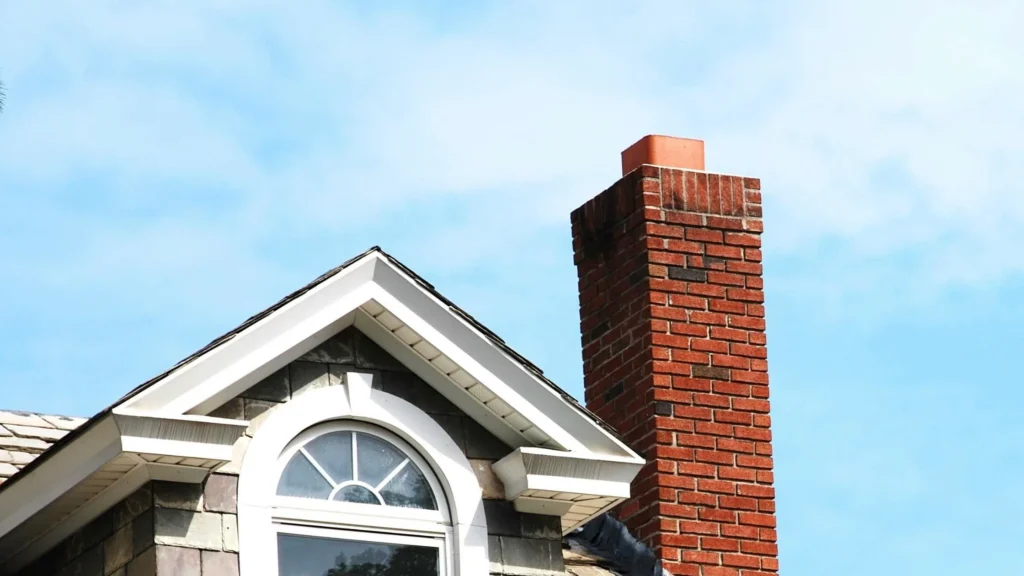
Professional masons are suggested in cases of bigger walls, historical buildings, chimneys, or other places that experience harsh weather. Experts can:
- Choose the right mortar to work best
- Use exact methods of long-term outcomes
- Be safe at the workplace at heights.
- Provide neat, consistent finishes
Complex projects need professional work to make the outcomes durable and of high quality.
Frequent Errors to Prevent
Using the Wrong Mortar
When a wrong mortar is used, this may result in a lack of adhesion, cracks and early decay. Never use a different mortar strength and type than match the existing brickwork.
Poor Application Techniques
Failure to fill completely, application imbalance or improper finishing may affect the wall strength and even the appearance. Get all the joints completely filled and make it look professional.
Tuck Pointing Brick Maintenance Tips
How Long Tuck Pointing Lasts
Tuck pointing brick when properly practised may last 20-30 years or even longer, with regards to exposure to weather, mortar quality and maintenance procedures.
Indications That You Need Tuck Pointing Again
- Crumbling or missing mortar
- Wall infiltration of water
- Shifting or loose bricks
- Cracks along mortar lines are visible
Periodic check-ups will help detect problems in time, hence, repairing them in time before causing massive damage.
Final Words
The knowledge of brick tuckpointing will enable the owner of the house and a construction worker to preserve the quality of the brick wall and its beauty. Though minor repairs are DIY friendly, a professional is worthwhile in projects involving large-scale and old buildings, or when the project is stressful.
Tuck pointing prevents the walls against water damages, strengthens, and improves aesthetics. With the correct tools, correct techniques, and consistent maintenance you will be able to have your brick structures making decades of strength and beauty.
