Point Tucking Brick – Full Guide in Masonry Repairs
Brick walls are considered to be one of the most attractive and durable materials in any building. Nevertheless, in the long run, the mortar which binds the bricks may wear out as a result of the exposure to the weather, moisture, and overall wear. Here is one place that point tucking brick can be necessary – they are a method used to reclaim the structural integrity and beauty of brick walls.
Here, we will go through the whole guide on point tucking brick covering all the aspects of this tool such as definition, advantages, equipment, step wise procedure, typical errors, DIY, and maintenance.
What Is Point Tucking Brick and Why It Matters
Point Tucking Brick Masonry Definition
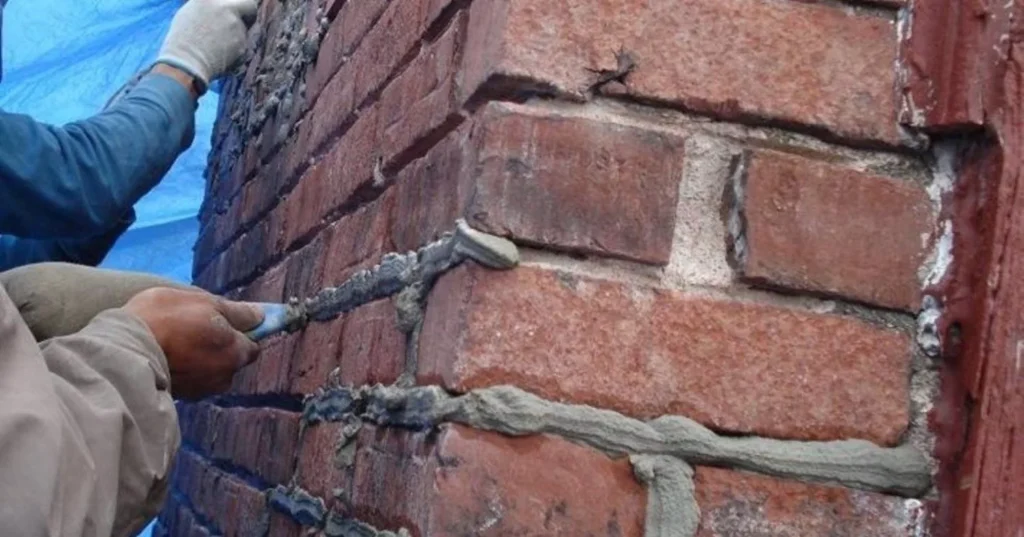
Point tucking brick is the procedure of fixing and re-building mortar joints within brick walls. It is done by scraping out the old, damaged mortar and coating the joints with new mortar to make the wall strong, stable and unable to penetrate water. In addition to structural advantages, point tucking enhances the appearance of brickwork with clean and uniform joints.
Advantages of Point Tucking Brick on Walls
The benefits of point tucking brick are:
- Strengthening of brick walls.
- Avoiding water destruction and leakages.
- Increasing the overall look of the wall.
- Increasing the life of brickwork.
- Cutting down on costs of repairs in future by not damaging the walls too much.
The accurate point tucking is an important investment that is done both aesthetically and structurally so that the walls are strong and attractive to look at decades.
Equipment and Materials Required in Point Tucking Brick
Tools Used in Bricks Tucking
It is of essence to have the right tools to be able to produce professional results:
- Pointing trowel
- Mortar hawk
- Chisel and hammer
- Wire brush
- Mortar joint raker/grinder
- Bucket and sponge
- Safety glasses and gloves
The correct tools permit accurate application and durability of repair.
Mortar Mix to Use in Point Tucking of Bricks
The kind of mortar that you use should be appropriate to your bricks. Mortar made in lime is efficient with old or ancient bricks whereas in modern buildings cement mortar is effective. Also, making the mortar color and texture to match the joints existent is an effective way to appear seamless and professional.
How to Do Point Tucking Brick Step by Step
Step 1: Wall Inspection Before Tucking Brick
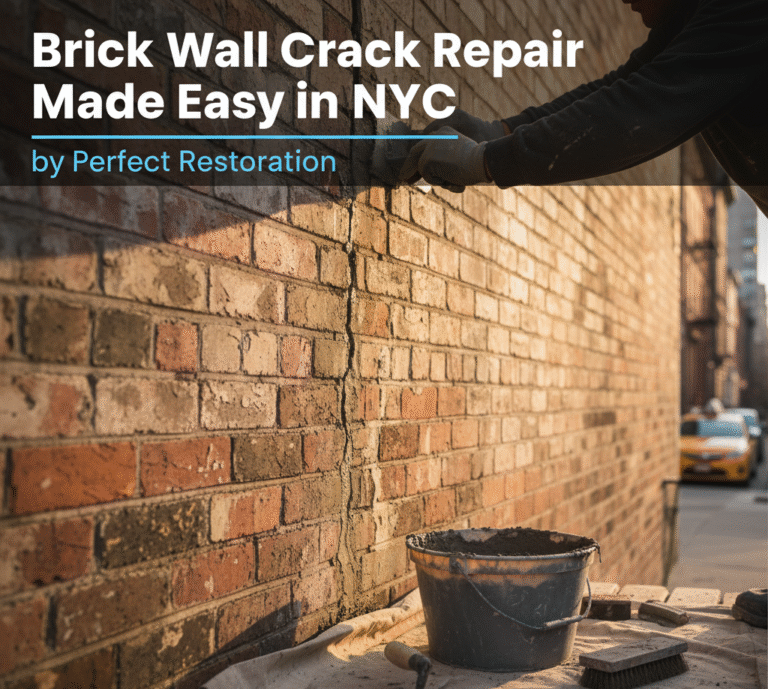
Begin by looking at the brick wall to identify cracks, gaps, and crumbling mortar. Note the places where repair is required and outline them so that work can be well organized.
Step 2: Removal of the Old Mortar
With a chisel, hammer or grinder, clean out the mortar in a damaged area to at least 1/2 inch deep. Care should be taken not to destroy bricks around it because intact bricks are needed to bond well with new mortar.
Step 3: Preparation of Mortar
Prepare mortar according to the directions of the manufacturer. The mix ought to be solid to be shaped and tender to be handled. Correct consistency will provide high adhesive and durable repairs.
Step 4: Mortar Application When Tucking Bricks
Wet the joints, and then rub new mortar. Apply the mortar firmly in each joint with pointing trowel. To form a powerful connection between the bricks and mortar, make sure that no cavity is left unfilled.
Step 5: Finishing and Cleaning
When the mortar is starting to harden, mould the joints using a jointing tool. Use a wet sponge to wipe down the brick faces in order to leave a clean professional finish. Finishing also increases the longevity and boosts the aesthetic look of the wall.
DIY vs. Hiring a Professional
When You Can DIY Point Tucking Brick
Homeowners can be guided by appropriate tools to undertake small repairs or localized regions. DIY point tucking is cost-effective and gives you the option of keeping your property in proper condition.
When to Hire Professionals
Professional masons are preferred to be used on large walls, historic buildings, chimneys or places that are highly exposed to harsh weather. Experts can:
- Use the proper type of mortar to achieve the best.
- Apply specific techniques for long-lasting repair.
- Ensure safety when operating at elevations or in awkward locations.
- Provide smooth and neat finishes.
Professional recruitment ensures the quality of the work on complicated or big projects.
Common Mistakes to Avoid in Point Tucking
Using the Wrong Mortar
The mortar applied should be correct or there will be lack of adhesion, cracks, and accelerated decay. Always coordinate type, strength and color of mortar to your existing brickwork.
Inadequate Application Practices
Imperfect filling, incomplete or incorrect finishing might jeopardise the strength and the look of the wall. Make sure that the joints are in place and filled and finished in the most suitable way possible.
Maintenance Tips After Point Tucking Brick
How Long Does Point Tucking Last?
With adequate tucking of points, the end result of the building may last 20-30 years and above given the weather conditions, the quality of mortar and regular maintenance.
Signs You Need Point Tucking Again
- Crumbling or missing mortar
- Water leakage or water penetration
- Shifting or loose bricks
- Exposed cracks on mortar joints
Repairs and inspections that can be conducted regularly will assist in eliminating massive damages and extending the lifespan of your brickwork.
Conclusion on Point Tucking Brick
Learning to tuck the brick requires the homeowner and the builders to keep the structural integrity and aesthetics of brick walls intact. Small projects can be performed by themselves, but major ones, old-fashioned, or complicated buildings should be handled with the help of a professional.
On time point tucking reinforces walls, avoids water damage, and improves the outlook of brick work. With the right equipment, methods and maintenance, your brickwork will last decades strong and beautiful.
