Tuckpointing Bricks – Full Instructions on How to Repair Masonry
Brick walls are durable in addition to providing beauty to buildings. Nevertheless, with time, the mortar binding the bricks may degrade as a result of weather, wetness or natural erosion. This is where tuck pointing bricks is introduced- a very important procedure that reinstates power as well as the elegance of the brick walls.
As a complete guide, you will get to know all the facts about tuck pointing bricks such as the definition, advantages, tools, step-by-step guidelines, errors, DIY tips, and maintenance measures.
What Is Tuck Pointing? Definition and Meaning in Masonry
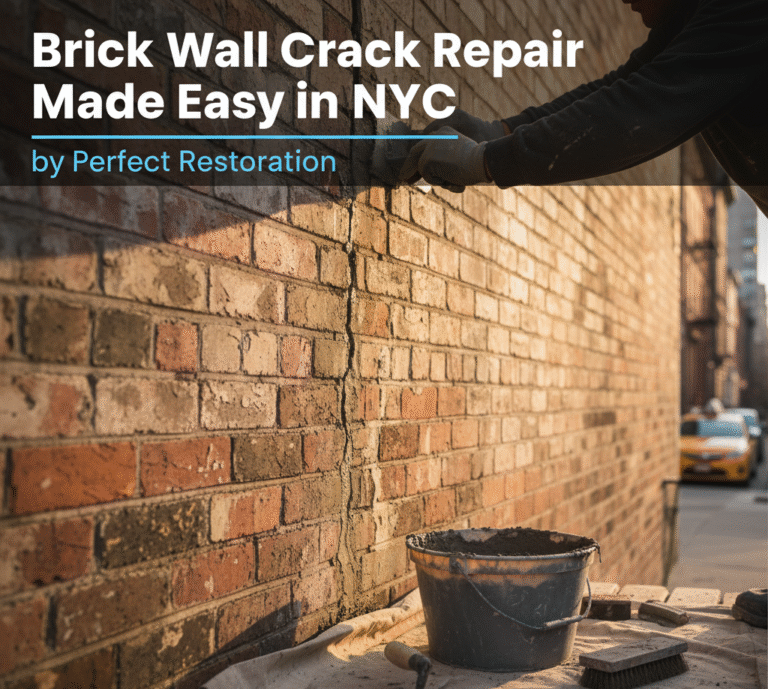
Tuck pointing bricks The procedure which involves repair and restoration of mortar joints between the bricks. It is an injection of removing old, broken, or worn-out mortar and applying new mortar to stabilize the wall. Tuck pointing does not only increase structural integrity, but also increases the visual consistency of the brickwork, producing a clean and professional look.
Benefits of Tuck Pointing for Strong and Durable Walls
The benefits of tuck pointing bricks are:
- Enhancing the walls stability.
- Stopping water infiltration and associated destruction.
- Improving the look of brickwork.
- Adding to the life of your brick walls.
- This is to minimize future repair expenses through prevention of major damage.
Correct tuck pointing will make brick walls firm, long-lived and attractive over years.
Essential Tools and Materials for Tuck Pointing
Tuck pointing of the bricks requires essential tools.
Professional results are highly important in the use of the right tools. Essential tools include:
- Pointing trowel
- Mortar hawk
- Chisel and hammer
- Wire brush
- Mortar joint raker / grinder.
- Bucket and sponge
- Safety glasses and gloves
The presence of such tools makes work during tuck pointing accurate and efficient.
Choosing the Optimal Mortar Mix for Repair
The kind of mortar applied is dependent on bricks used and age. Older or historic bricks are better with lime-based mortar whereas modern buildings are well served with cement-based mortar. Also, by color and texture matching of mortar and joints it is easy to provide a continuous finish.
Step-by-Step Guide to Tuck Pointing Bricks
Step 1: Inspecting the Walls
Before tuck pointing Bricks, inspecting of Walls.
Start by scrutinizing the brick wall closely and look out any cracks, hollow or crumbling mortar. Indicate the spaces that need a repair to do the work systematically.
Step 2: Removal of Old Mortar
Either use the chisel, hammer or grinder to scrape off old mortar to at least 1/2 inch. Care should be observed to avoid knocking down the adjacent bricks since intact bricks are needed to bond with new mortar.
Step 3: Mixing the Mortar Properly
Prepare the mortar according to the directions of the manufacturer. It must be hard enough to be stiff and soft enough to be easy to work. High adhesion and permanence are guaranteed by good consistency.
Step 4: Applying the Mortar
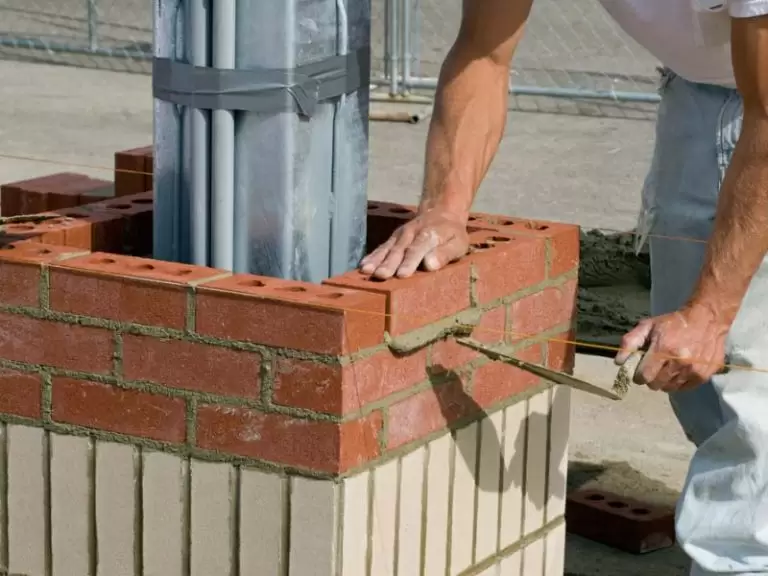
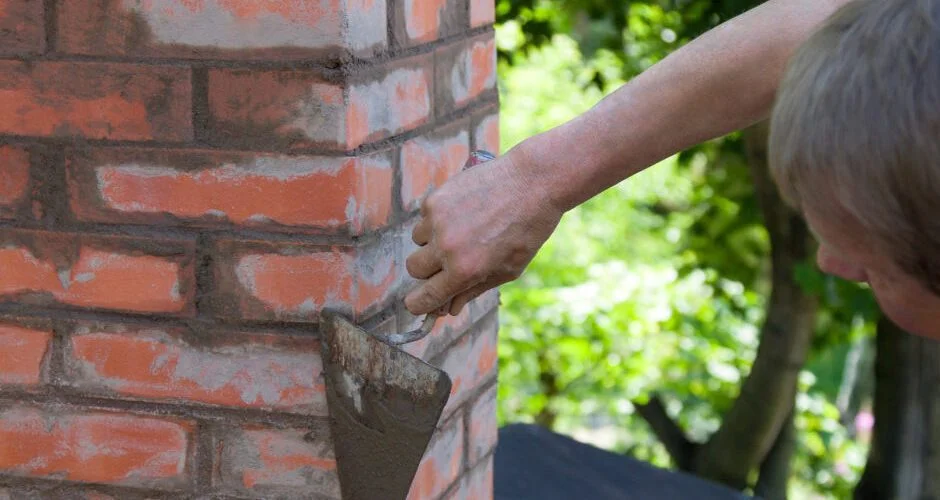
Wet the joints and make new mortar. Press in mortar firmly in each joint with a pointing trowel. Ensure that all the gaps are well filled to form strong bond between bricks and mortar.
Step 5: Finishing and Cleaning
When the mortar begins to dry, it should be shaped with a jointing tool. Use a damp sponge to remove the unnecessary mortar on the surface of the bricks to have a sharp, professional look. Durability is boosted by proper finishing which also adds beauty to the wall.
DIY Tuck Pointing vs. Hiring a Professional
How to DIY Tuck Pointing
Homeowners can work on small repairs or localized areas using the appropriate tools and guide. The DIY tuck pointing is cost effective and enables you to take good care of your establishment.
When to Hire Professionals for Tuck Pointing
Professional masons are advisable on large walls, historic buildings, chimneys or those in the extreme weather conditions. Experts can:
- Choose the appropriate mortar to use.
- Use accurate methods on lasting repairs.
- Work safely on heights or hard to reach places.
- Provide clean consistent finishes.
Outsourcing will ensure quality outcomes in the complicated or big-scale projects.
Common Tuck Pointing Mistakes to Avoid
Using the Wrong Mortar
The wrong type of mortar could lead to low bonding, cracking and untimely wear. It is advisable to always ensure that the type of mortar used, its strength and color are similar to the existing brickwork.
Ineffective Application Techniques
Poor strength and appearance can be as a result of incomplete filling, uneven application or improper finishing. Make sure that all the joints are well filled and finished in a nice manner.
Tuck Pointing Maintenance and Lifespan
How Long Does Tuck Pointing Last?
Well-done tuck pointing Bricks have a lifespan of 20-30 years or even longer when well maintained and depending on weather factors and the quality of mortar.
Signs You Need Tuck Pointing Again
- Crumbling or missing mortar
- Leaks or entry of moisture in water.
- Shifting or loose bricks
- observable cracks in mortar joints.
Frequent check-ups and prompt repairs are used to avoid massive damage and extend the life of your brick walls.
Final Thoughts
Education on the art of tuckpointing bricks will enable homeowners and builders to preserve the structural and aesthetics of brick walls. Whereas minor repairs can be a DIY activity, large, old, or complicated areas should be repaired professionally.
Tuck pointing within a short time makes the walls stronger, stops leaks, and improves the aesthetics of brick buildings. With the right tools, the right techniques and a regular pull of your walls, your brickwork can be very strong and beautiful over decades.
