DIY Brick Pointing – Complete Guide for Beginners
Among the most resistant building materials, brickwork deteriorates with time as the mortar between the building bricks starts to collapse as a result of weather, age, and moisture. Mortar crumbling and cracking would impact your walls in terms of strength and appearance. That’s where DIY brick pointing comes into play.
Repointing brick walls not only restores the beauty of your house but also protects your home against water damage and structural problems in the long term. This step-by-step guide will take you through all that you require to know when it comes to brick pointing, including areas where damage can take place, the tools, mortar mix, and step-by-step process.
What is DIY Brick Pointing and Why is it Important?
DIY pointing happens when mortar joints between bricks are to be repaired and renewed to make the bricks strong and good-looking again. Mortar wears under natural forces of weather, moisture, and time, creating an opening through which the water may creep in and erode the structure. Repointing these joints will help avoid such troubles as damp walls, mould, and even structural weakening.
The reason why it is important is that it not only keeps your home intact without long-term damage but also enhances the overall appearance of your brickwork. When you know how to repoint bricks yourself, you can save money, lengthen the lifetime of your walls, and make your property strong and handsome over the long term.
Best Tools for DIY Brick Pointing
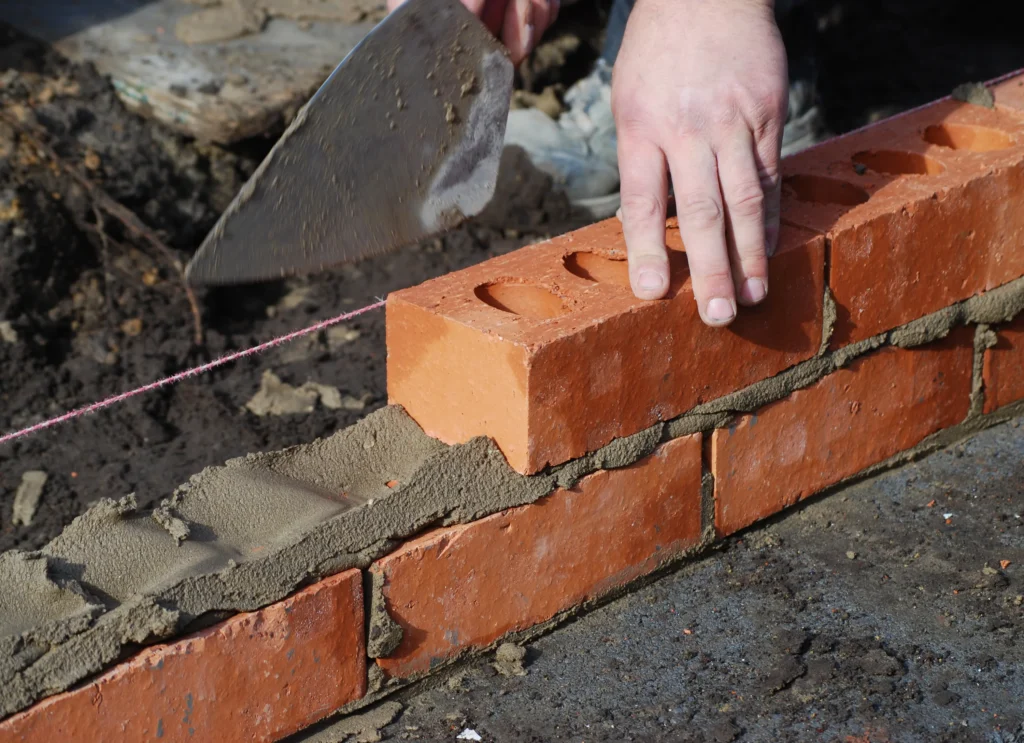
The tools used are extremely important when it comes to the success of any DIY brick pointing project. A pointing trowel will be required so as to press fresh mortar into the joints and just give it a nice finish; a mortar rake or chisel will be needed to remove old and crumbling mortar without harming the bricks. A mortar hawk/board is used to hold the mix off the ground, and so it is easier and faster to work.
Moreover, a rigid wire brush is required to remove dust and debris from the joints before repointing, and safety equipment like gloves, goggles, and a dust mask protects one during the work. The availability of these tools not only makes the process much easier but also ensures a professional appearance and a long-term repair.
How to Prepare Brick Walls for Pointing
1. Removing Old and Damaged Mortar
The process of DIY brick pointing begins with stripping away the old, loose, or crumbling mortar from the wall to prepare it. With a mortar rake, chisel, or angle grinder, cut away the damaged mortar down to a depth of approximately half an inch. This will follow due to the spacing of the new mortar to bond the new mortar. Take care not to chisel the bricks and weaken the structure as well as the result.
2. Cleaning the Joints Thoroughly
Joints should be cleaned after the removal of old mortar. Clean off dust, debris, and other loose particles by using a stiff wire brush. Also, it is possible to rinse the joints with a small amount of water to clear off the leftover dust. Clean joints are necessary since the residual debris does not allow the fresh mortar to adhere, and this could cause cracks or premature breaking of the entire process upon repointing.
3. Damping the Bricks for Better Bonding
Lightly spray with clean water the bricks and joints before putting on fresh mortar. Damping ensures the new mortar does not soak up into the dry bricks, resulting in a dry mortar drying up too quickly and making it weak. Wetting the surface causes the mortar to dry more gradually to produce a stronger and more durable bond. It is one of the most significant steps in the process of preparing your wall to do DIY brick pointing successfully.
Step-by-Step Guide to Repointing Brick Walls
- Remove Old Mortar: Clean out any loose or spoiled mortar to the correct depth.
- Clean the Joints: Clean the dust and spray a little water over the bricks to bind them together.
- Blend the Mortar: Have a mortar mix that is identical in strength and color to the first one.
- Apply New Mortar: Fill in the joints with a pointing trowel with fresh mortar.
- Finish and Cure: Rub out the joints to a clean appearance and allow the mortar to dry gradually to be strong.
Common Mistakes in DIY Brick Repointing and How to Avoid Them
In their quest to DIY brick pointing, most individuals make errors that compromise the end product. One of the most widespread mistakes is to use the incorrect mortar mixture, which may result in cracks and weakening of bricks. Others do not follow the correct amount of depth in removing old mortar, and hence they have weak joints that do not hold together.
The durability is also compromised by working in harsh conditions or in a hurry. The best way to ensure that none of these problems occur is to prepare the wall well, to apply the correct mortar, and to repoint the wall under the right conditions to ensure it lasts longer.
Conclusion
One of the best options to regain the integrity and beauty of your brick walls, besides being a costly exercise, is DIY pointing of the bricks. With proper tools, an early note of damage, correct mortar mixes, and a step-by-step approach, you can finish your job professionally, ensuring that your home is secure over the next several decades.
No matter the scale of a job you have to undertake, be it repairing a small section of wall or a whole area, this guide will provide you with all you require to be successful.
