Brick Tuck Pointing – A Full Guide on Masonry Repairs
Brick walls are a classic and firm attribute in most houses and structures. Nevertheless, the mortar between the bricks may with time degrade as a result of weather, water or wear and tear. This is where tuck pointing of bricks comes in- an essential procedure to reinstate structural strength as well as the looks of your brickwork.
Here, you will get to know all about brick tuck pointing, such as the tools, stepwise process, frequent errors, home tips and tricks, and maintenance tips.
What Is Brick Tuck Pointing and Why Is It Necessary?
Definition of Masonry Brick Tuck Pointing
Brick tuck pointing refers to the procedure of re-invasive and rehabilitative of mortar joints in brick walls. It entails the removal of old, damaged mortar and the replacement of the mortar with new mortar that makes sure the wall is strong and waterproof. Tuck pointing also makes the construction stronger but more pleasing to the eye as it removes undress and uneven joints in the brickwork.
Advantages of Brick Tuck Pointing for Strong and Durable Walls
The benefits of bricks tuck pointing are:
- Repairing the integrity of brick walls
- Stopping water intrusion and associated destruction
- Viewers improvement of the overall look of the wall
- Increase the life of your brick structure
- Lessening the cost of repair in the future by avoiding extent damage
Tuck pointing in the right way will keep your brick walls strong, attractive, and free of weather.
Instruments and Equipment for Tuck Pointing Bricks
Necessary Tools for a Brick Tuck Pointing Project
In order to express professional outcomes, collect the next tools:
- Pointing trowel
- Mortar hawk
- Chisel and hammer
- Wire brush
- Mortar joint raker/grinder.
- Bucket and sponge
- Safety glasses and gloves
Precision and long-term outcomes require the use of the appropriate tools.
Choosing the Best Mortar Mix for Tuck Pointing
It is important to select the right mortar. A lime based mortar is best suited to older or old fashioned bricks whereas cement based mortar is in use in newer constructions. It is important to match the color with the texture of the mortar to the existing joints in order to maintain a seamless, professional appearance.
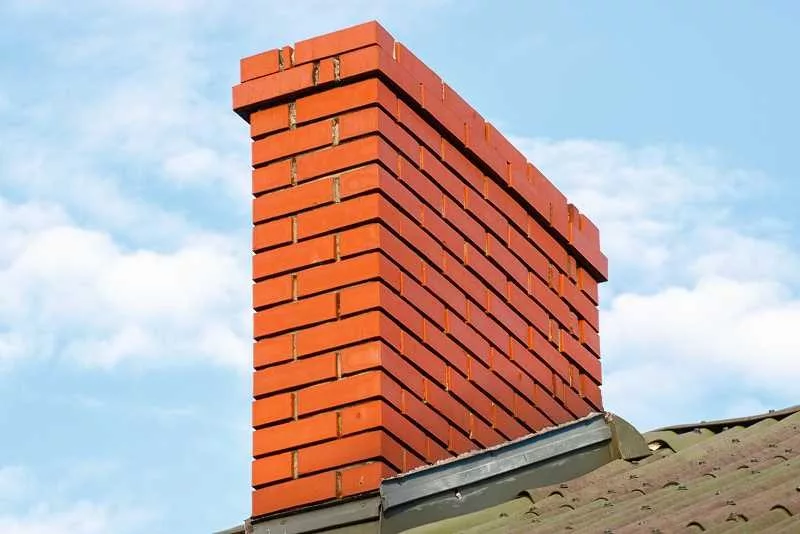
How to Do Brick Tuck Pointing: A Step-by-Step Guide
Step 1: Wall Inspection Prior to Brick Tuck Pointing
Look closely at the wall surface in places that seem to feature crumbling, cracked, or hollow-sounding mortar. Find the damaged areas and note them down and set them to work.
Step 2: Removing Mortar for Tuck Pointing
Either with a chisel or hammer (or grinder) cut away the damaged mortar at least 1/2 inch deep. Also make sure not to crack over the surrounding bricks because intact bricks are needed to bond well with new mortar.
Step 3: Mixing Mortar for Brick Tuck Pointing
Prepare the mortar following the instructions of the manufacturers. It must be hard enough to give shape and soft enough to work. The consistency is good enough to provide good adhesion and durability.
Step 4: Applying the Mortar When Tuck Pointing
Wet the joints then plaster with new mortar. Mortar should be pressed using a pointing trowel into every joint. Make sure that the cavities are filled forming a strong bond between the bricks and the mortar.
Step 5: Finishing and Cleaning Up After Brick Tuck Pointing
When the mortar is starting to dry then mould the joints with a jointing tool. Clean up the brick faces with a moist sponge to remove any surplus mortar and leave a clean professional finish. In 3. Proper finishing leads to durability and makes the wall more attractive to the eye.
DIY vs. Professional Tuck Pointing of Bricks
When You Can DIY Brick Tuck Pointing
With the right tools and instructions, DIY enthusiasts are able to do small repairs or localized areas. Tuck pointing can be performed by DIY and save money, giving an opportunity to the homeowner to maintain their own house.
When to Contract Professionals to Tuck Point Bricks
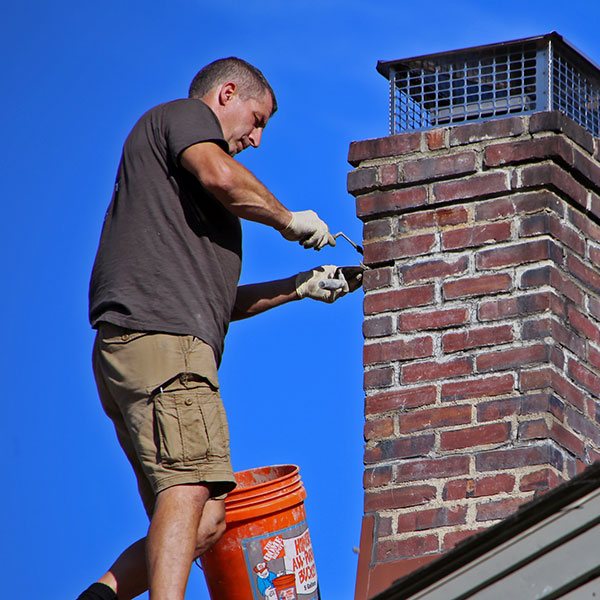
On bigger walls, old architectural buildings, chimneys, or the places where harsh weather conditions are observed, it is better to employ professional masons. Experts can:
- Use the right kind of mortar to achieve the best outcome
- Use accurate methods in long term repairs
- Be safe working on heights or hard places
- Provide clean finishes that are uniform
Complex or large-scale projects can be ensured of quality and survival through professional services.
Common Errors in Brick Tuck Pointing
Using the Wrong Mortar for Tuck Pointing
The wrong mortar may lead to a lack of adhesion, cracking and early wear. It is always important to match mortar with type, strength and color with current brickwork.
Weak Techniques in Brick Tuck Pointing
Imperfect filling, poor application of mortars, or improper finishing may destroy the wall and make it less beautiful to the eye. It is best to make sure that every joint is completed and finished in a proper manner.
Tips for Maintenance After Tuck Pointing
How Long Does Brick Tuck Pointing Last?
Under the right steps it can take between 20 and 30 years or even more, considered the weather conditions, mortar quality, and the upkeep.
Indications That You Should Brick Tuck Point Again
- Crumbling or missing mortar
- Water leak or water infiltration
- Shifting or loose bricks
- Obvious cracks that run along mortar joints
Frequent maintenance checks can help to identify issues in time, which will reduce the chances of causing further problems due to unperformed maintenance.
Final Considerations on Brick Tuck Pointing
Knowing how to tuck point will enable house owners and construction companies to preserve the structural as well as the aesthetic value of brick walls. Small-scale repair should be a DIY project but big, old, or intricate areas should be done by a professional.
In time tuck pointing makes walls strong and resistant to damage caused by water as well as improving the outlook of brick buildings. With the correct tools, correct techniques, and with consistent maintenance, it is possible to make your brickwork useful and beautiful over decades.
