How to Point Bricks – A Step-by-Step Guide to Restore Strength and Beauty
A rusting wall is more than an aesthetic nightmare; it is a message. Even the smallest cracks and gaps between your bricks might not appear much, but with time, such cracks might undermine your structure and cause expensive damage. The good news? A little knowledge will make you rejuvenate your brickwork. This procedure is known as brick pointing, and it happens to be one of the crucial maintenance jobs that you have to perform in order to maintain your home or building structure.
In this guide, you will get to know what brick pointing is, its reasons, and how to point bricks. By the time you finish, you will understand how to shield your walls against the weather, increase your curb appeal, and have your property stand the test of time.
What Is Brick Pointing?
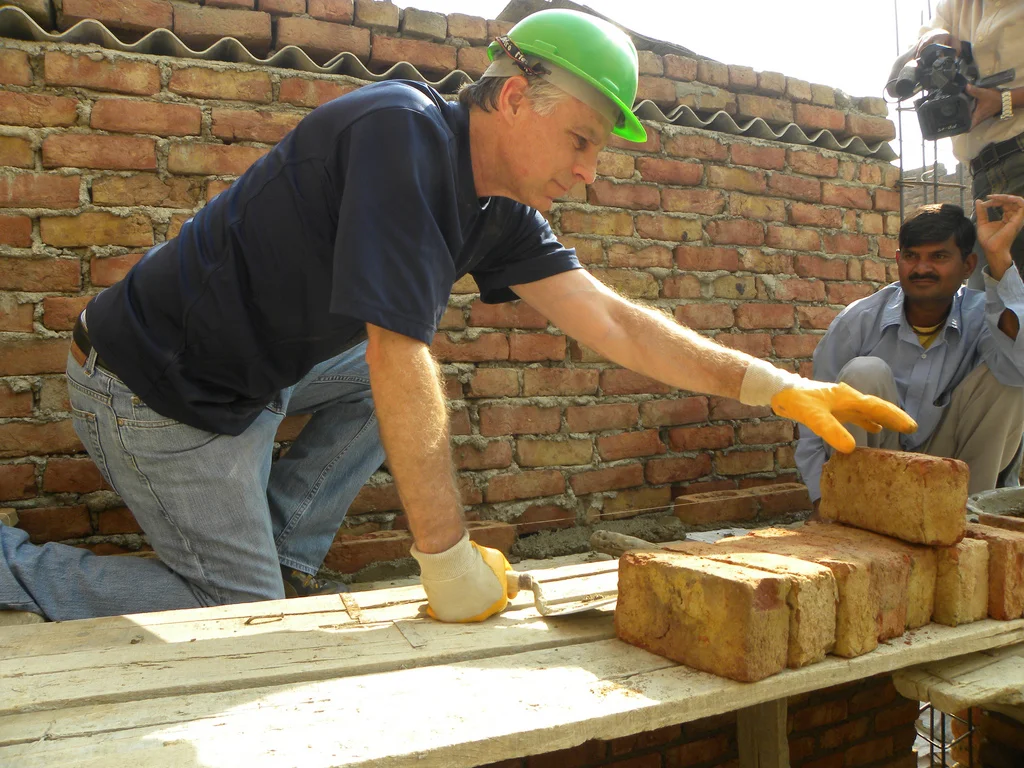
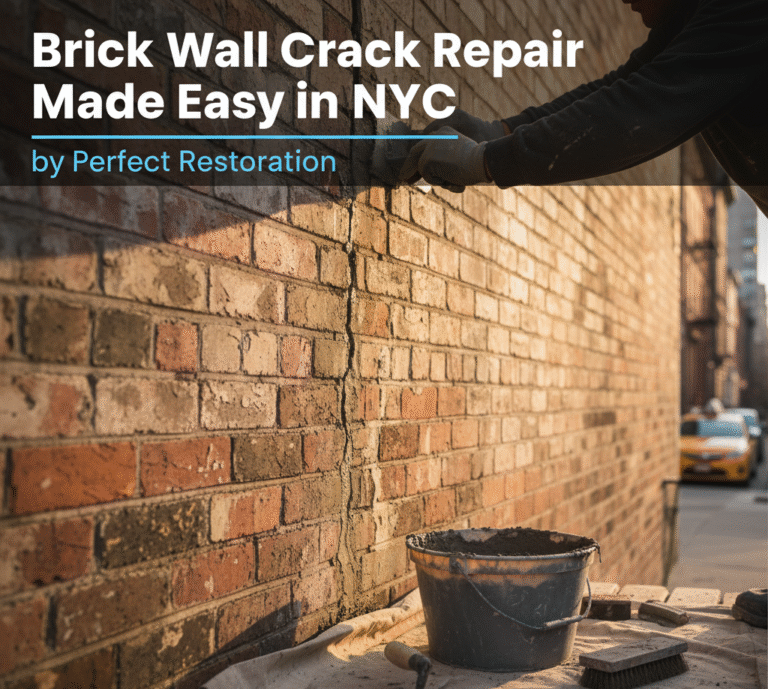
Repointing or brick pointing can be defined as the replacement of the external layer of mortar joints in a brick wall or in a stone wall. With time, wind, rain, and temperature changes wear off the mortar between the bricks, and other wear and tear. As the mortar is weak, it creates gaps through which water can creep in and thus cracks, moulds, or even structural damage may occur.
By filling these gaps with new mortar, both the appearance and, more importantly, the durability of your brickwork are fully restored. Although it might seem a simple repair task, the process of pointing your bricks is, in fact, a vital process for the lengthening of your walls.
Why Is Brick Pointing Important?
It is more than brickwork to get your walls to look presentable. It has several major purposes:
- Prevents Water Damage – The first line of resistance to rain and moisture is mortar. New mortar will keep water out of your bricks and leave your interiors dry.
- Re-establishes Structural – The bricks may loosen or shift because weak mortar is used. When pointing makes your wall firm and firm.
- Enhances Energy Saving – Mortar Cracks and Mortar cracks may allow drafts in. Some gaps are filled by proper pointing, and they contribute to the comfort inside the house.
- Improves Curb Appeal – Sharp, neat mortar lines make your house look neat and clean, adding value and beauty to your house.
Regular pointing is such a little thing to pay for just to take care of your historic house or your family house, but it will reap the benefits in the long run.
Tools and Materials You’ll Need
Prepare the proper tools and materials in advance. You’ll need:
- Safety goggles and gloves
- Chisel or hammer
- Pointing trowel
- Wire brush
- Mortar mix (best results with our original mortar)
- Bucket and mixing tool
- Spray bottle with water
The availability of the right equipment not only makes the process easier but also provides clean and durable finishing on the final work.

Step-by-Step Guide on How to Point Bricks
At this point, we will divide the process into easy steps.
Step 1: Remove Old Mortar
Start by tapping the bricks with the stony stuff that has broken or crumbled down in the middle. Eliminate mortar at least 1/2 inch to 3/4 inch. Do not break the bricks. Hammer and chisel are suitable for small sizes, and the angle grinder can be applied to large projects.
Step 2: Clean the Joints
Once joints have been removed with a wire brush, rub off dust and debris on the joints of the removed mortar. Use a spray bottle and spray Water on the joints. This stops the dry bricks from receiving too much moisture through the newly formulated mortar.
Step 3: Mix the Mortar
Ready your mortar following your manufacturer’s directions. Find an acceptable consistency that is solid and achievable. To achieve optimal outcomes, attempt to make your own mortar the same color and texture as your original mortar so that the repair matches the rest of the wall.
Step 4: Apply New Mortar
Apply to the joints with fresh mortar using a pointing trowel. Stuff in all the holes in bits. Ensure that there are no air pockets, as these weaken the repair.
Step 5: Bend and Rub the Joints
After placing the mortar, mould the joints so that they look attractive. Different profiles can be made, including concave, flush, or weathered, based on the appearance that you desire. Not only does the smoothing of the joints enhance beauty, but it also helps the water to run off rather than pool.
Step 6: Allow to Set and Cure
Allow mortar to dry for a few hours and then sweep off any excess lightly with a soft brush. When the joints are still curing, do not disturb them. Mortar can require several days to cure, and thus, to avoid cracking, keep the place a bit wet during the first two days.
Common Mistakes to Avoid
When pointing bricks, make sure you do not make these mistakes, which can reduce the lifespan of your repair:
- Placing the inappropriate kind of mortar on the one you have used.
- Omitting a cleaning operation, which undermines adhesion.
- Using either too dry or too moist mortar.
- Rushing the curing process
The most important features of professional-looking results are patience and attention to detail.
Should You DIY or Hire a Professional?
Although DIY homeowners can deal with small pointing jobs, bigger or higher walls might be beyond their skills. Professionals possess the means, scaffold, and experience to deal with complex projects safely and efficiently. Should you be refurbishing an old structure, then a mason can assist you in matching the mortar colour and texture to give you a natural finish.
In minor cracks and small areas, however, knowing how to point bricks by yourself is a worthy skill that will save you money and give you the ability to take care of your house.
Final Thoughts
Brick pointing can be considered an easy job, yet this technique is very important in the protection and preservation of your house. With this step-by-step instruction guide on how to point bricks, you can prolong the existence of your walls, avoid expensive water damage, and enhance the appearance of your property.
When you are ready to put a brand new style on your walls, pick up your tools, take your time, and begin restoring those mortar joints this day, and don’t forget that DIY or hire an expert, routine maintenance on the bricks is the secret to a solid and lovely house.
